It is estimated that the screenprinting market brings in over $474 million per year to the US economy. Part of this growth has come from a need for unique, high-quality products and fashions. But if you are just starting with screenprinting, how can you make your designs look more professional?
With just a few tips, you can make great-looking screen-printed items. Read on as we give 9 essential screen printing mistakes you need to know.
1. Using the Same Mesh for All Projects
110 mesh is that standard and great for a wide range of jobs. However, there are times when you will need other types. Many printers start out using the same mesh for everything and are surprised when they don’t get the results they want.
Higher meshes are better for halftones and photo-realistic prints. A variety of screen meshes to hand will help you get better results. With the right planning and tools, you will also find that you waste less ink.
2. Using Too Much Ink
Adding more ink than necessary is a common problem when screen printing designs. Fabric can only absorb a certain amount of ink after which, it will start to push outward, distorting your image.
Beginners often mistake this for a misalignment of the screen printing equipment. How much ink you need on your design will depend on the image and fabric. Ideally, you want around two or three passes of the squeegee with firm pressure to apply the right amount.
When you are printing on non-absorbent surfaces you need even less paint. These can include wood, glass, and paper.
3. Not Checking the Equipment
One step many people forget when preparing for screen printing is to check their equipment. While it may take a little time, it can prevent you from making expensive mistakes.
During use, your equipment will loosen. Be it a simple wooden frame or a more technologically advanced unit, everything will shift as the process takes place. After a while, this manifests as distorted and blurred pictures.
Before you start, make sure you give the equipment a check. Tighten up any loose parts and do a small test.
Cleaning your equipment thoroughly before use is also essential. Any spots of paint from previous jobs, grease from your hands, and lint can spoil further runs.
Make sure to clean any pallets and dust your press. Get into the habit of washing your hands as you work to prevent paint and lint from cross-contaminating.
4. Skipping a Test Print
A test print is another step beginners may skip to save time. However, it can lead to huge problems later down the line. A test will let you spot problems before you do a bigger run.
Color imperfections and incorrect placement are two of the most common. Typography that has not been proofread is also an amateur mistake. Where possible, you should get a client to check test items before doing the entire run.
5. Using the Under Base as a Highlight
When you have white fabric, it can be tempting to use it as a highlight. This saves time as you don’t need to prepare an extra screen. However, doing this can cause issues with the quality.
Without a white layer, you will have to use lots of ink on the print. This can make it extremely heavy which is irritating and uncomfortable to wear. The paint on the design will also be thick, protruding a long way out from the fabric.
6. Not Thinning Ink
A lot of products can be used straight away. However, most of them are far too thick to use directly from the can. Instead, you need to thin them out to get the desired texture.
You can tell when ink is too thick as it will create a blurred image. Try stirring the paint thoroughly and add some reducer. Do a test run to ensure it has the right consistency, providing the look and feel you and your customers want.
7. Not Using a Spot Gun
Spot guns can clean textiles with the use of a cleaning solvent. If you have flecks of ink or grease, a quick application can take them off for you. This saves you from throwing away products that have imperfections, reducing waste, and having a positive impact on your overall costs.
8. Lifting Then Closing a Screen
Lifting then closing the screen is another amateur mistake. People do this to check they have enough ink on the squeegee, or to see how their design looks. However, once it is lifted you can never close the lid and get it back in the same spot.
This gives a blurred, messy image. Instead, do a few test prints to ensure you are putting the right amount of ink on. You can even try it out on old t-shirts and scrap fabric to check you are getting the finish right.
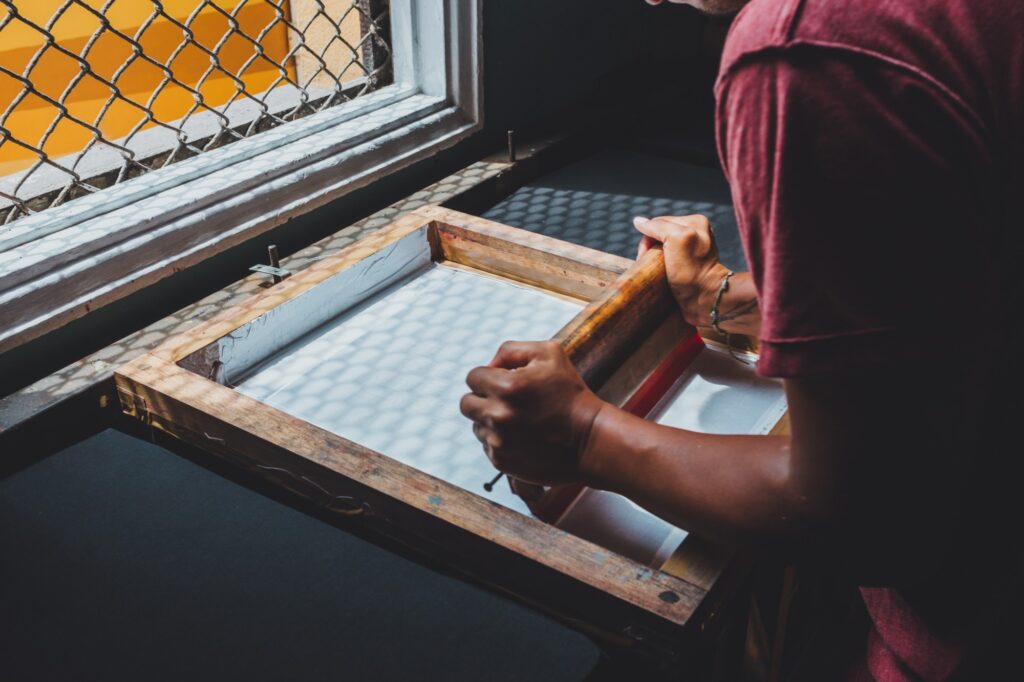
9. Not Applying Even Pressure
Another common mistake when screen-printing designs is using uneven pressure on the squeegee. However, this can take work and practice as you also don’t want to apply too much.
The best method is to get an assistant to hold the screen while you use two hands. Make sure you spread your hands wide and make the pressure as even as possible.
If you are working alone then you may want to invest in a screen printing press. You won’t need anyone to hold the screen and can exert even levels of pressure on the squeegee.
Avoiding Screen Printing Mistakes
Now that you know these screen printing mistakes, you can get a professional look quickly. Most of them are about having good preparation. Don’t cut corners and take the time to get everything right before you begin.
Big T Printing should be your first stop for screen printing. We cater to everyone from residential to commercial clients. Click here to contact our staff and let us get started on your next printing job.